Setting Up Orrigo
Reset your Password & Sign in
You’ll receive login credentials by email from the Orrigo team. Follow the link to create your password, then choose your preferred sign-in method, either Single Sign On or Password. When your firm Admin turns-on Single Sign On via Microsoft or Google in the Firm Settings console, your users can no longer enter a password. Your Admin manages billing, team members, and the preferred SSO.
Install the Plug-ins
Bring Orrigo into the tools you already use—Microsoft Word, Excel, Edge, and Google Chrome. Answer RFPs without ever switching apps.
Handled for you
Microsoft or Google?
Doesn't matter which — the process below is exactly the same whether a teammate signs in with Microsoft or Google.
As the firm admin, your only job is adding users in Firm Settings. From there, SSO takes care of the rest.
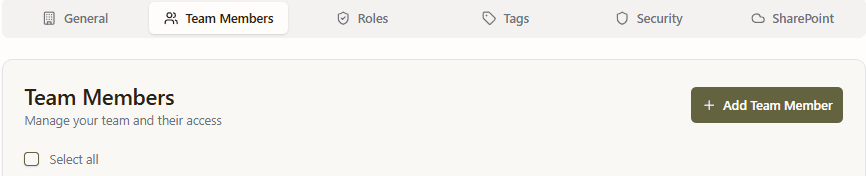
Head to Firm Settings → Team Members, click + Add Team Member, then add their name and email address.
 12
12Click any numbered pin on the screenshot — or any card below — to explore that feature
Team Members Tab
In Firm Settings, click Team Members along the top tabs to see every active or inactive user on your firm’s tenant.
+ Add Team Member
Click this to open the invite form and bring new users onto your firm's tenant.
 123
123Click any numbered pin on the screenshot — or any card below — to explore that feature
First & Last Name
Type in the new teammate’s first and last name exactly as you’d like it to appear.
Email Address
Enter their exact email address — this must match the Microsoft or Google account they’ll sign in with, or SSO won’t recognize them.
Send Invite
Confirm the role and click Send Invite to email the new teammate their login instructions.
The new teammate gets a welcome email from Orrigo AI with a link to log in — from there, they continue with Microsoft or Google.
 12
12Click any numbered pin on the screenshot — or any card below — to explore that feature
Email Address
Copy and paste the username from the activation email or enter the same email address the firm manager added you with.
Sign in with Microsoft or Google
The password field is completely removed and replaced with options to sign in with Microsoft or Google. Pick whichever matches your account — the process is identical either way.
Bring Orrigo into the tools you already use — answer questionnaires and draft proposals without switching apps. Most teams install several; each one takes under 3 minutes.
IT approval may be required. If you can't find the add-in in the Extension store or get a permission error, contact your IT team to approve “Orrigo” in the Microsoft Admin Center.
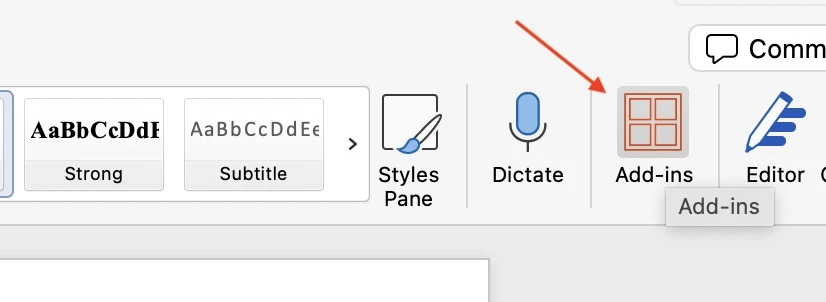
In Word, open the Home ribbon and click Add-ins.
Search for “Orrigo” and click Add or Install.
The Orrigo button appears in the upper-right of the Home ribbon. Click it and sign in.
Can't find it in Add-ins? Install directly from the Microsoft AppSource Marketplace.
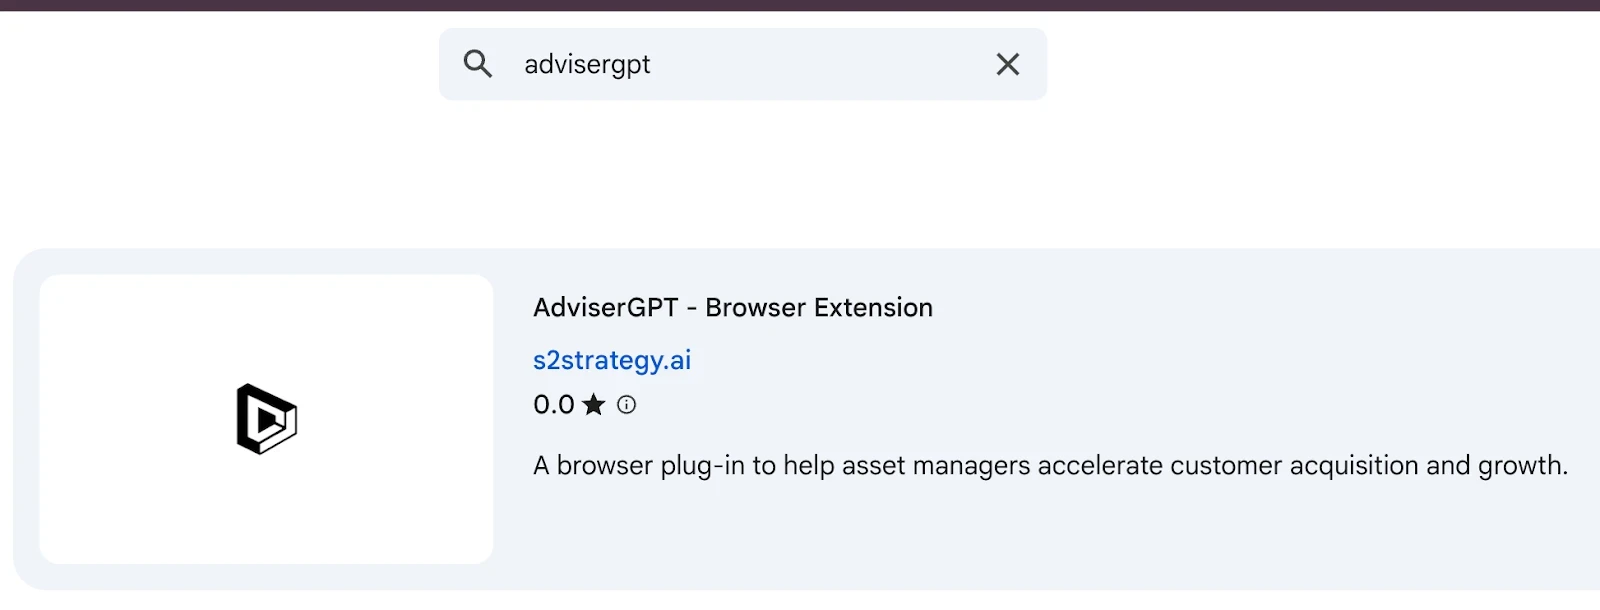
Open the Chrome Web Store and search “Orrigo”, or use the direct link from your account contact.
Click Add to Chrome, then confirm with Add extension.
Click the puzzle piece icon (🧩) in Chrome's toolbar and pin Orrigo for quick access.

Go to Microsoft Edge Add-ons and search “Orrigo”, or use the direct link from your account contact.
Click Get, then confirm with Add Extension.
Click View Extension to confirm it's active, then pin it from the Extensions menu.
IT approval may be required. If you can't find the add-in in the Extension store or get a permission error, ask your IT team to approve “Orrigo” in the Microsoft Admin Center.

In Excel, click Add-ins in the ribbon. Search for “Orrigo” and click Add or Install.
The Orrigo button appears in the upper-right of the Home ribbon. Click it and sign in with your account credentials.